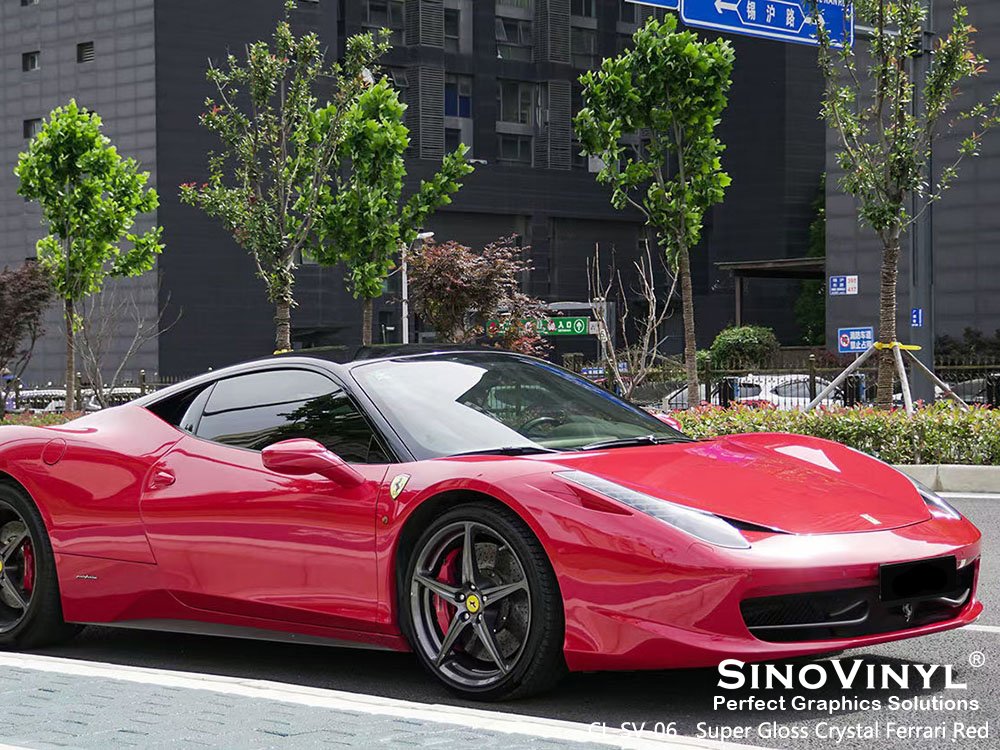
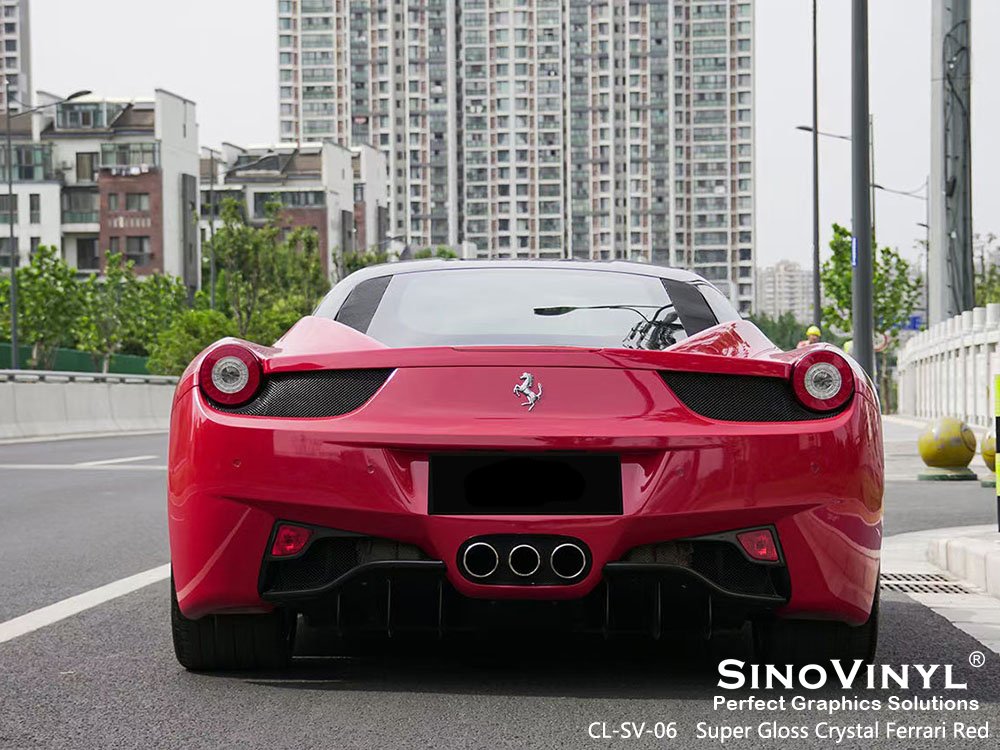
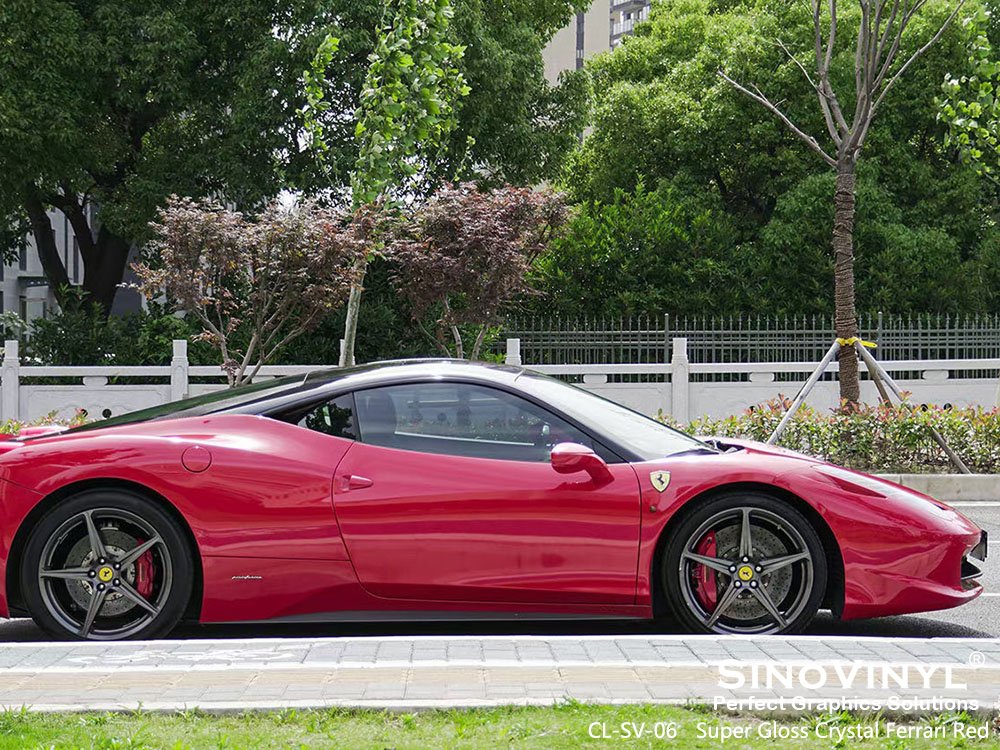
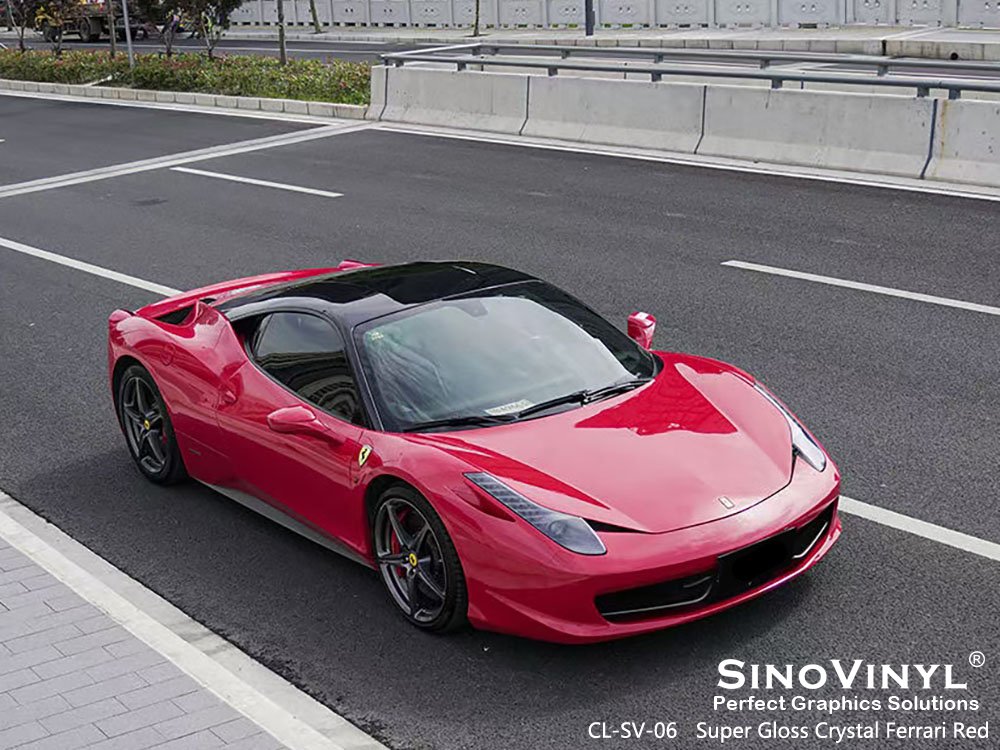
The wrapping process is a crucial step in achieving a flawless vinyl finish on your vehicle. It involves meticulous planning, precise application, and careful handling to ensure that the vinyl adheres smoothly and lasts for years to come. In this comprehensive guide, we’ll delve deep into the wrapping process, breaking down each step and providing valuable insights to help you master this art form. Whether you’re a beginner or an experienced installer, these tips will help elevate your wrapping skills to the next level.
1. Proper Surface Preparation
– Clean the vehicle thoroughly with soap and water to remove dirt, grease, and wax.
– Use a wax and grease remover to ensure a completely clean surface.
– Sand any rough spots or imperfections to create a smooth surface for better adhesion.
2. Choosing the Right Vinyl Material
– Select high-quality vinyl that is suitable for automotive applications.
– Consider the color, finish, and durability of the vinyl to match your desired look and budget.
3. Essential Tools and Supplies
– Gather all necessary tools such as squeegees, heat gun, cutting knife, and application fluid.
– Prepare a clean and dust-free workspace to ensure a smooth installation process.
4. Understanding the Wrapping Process
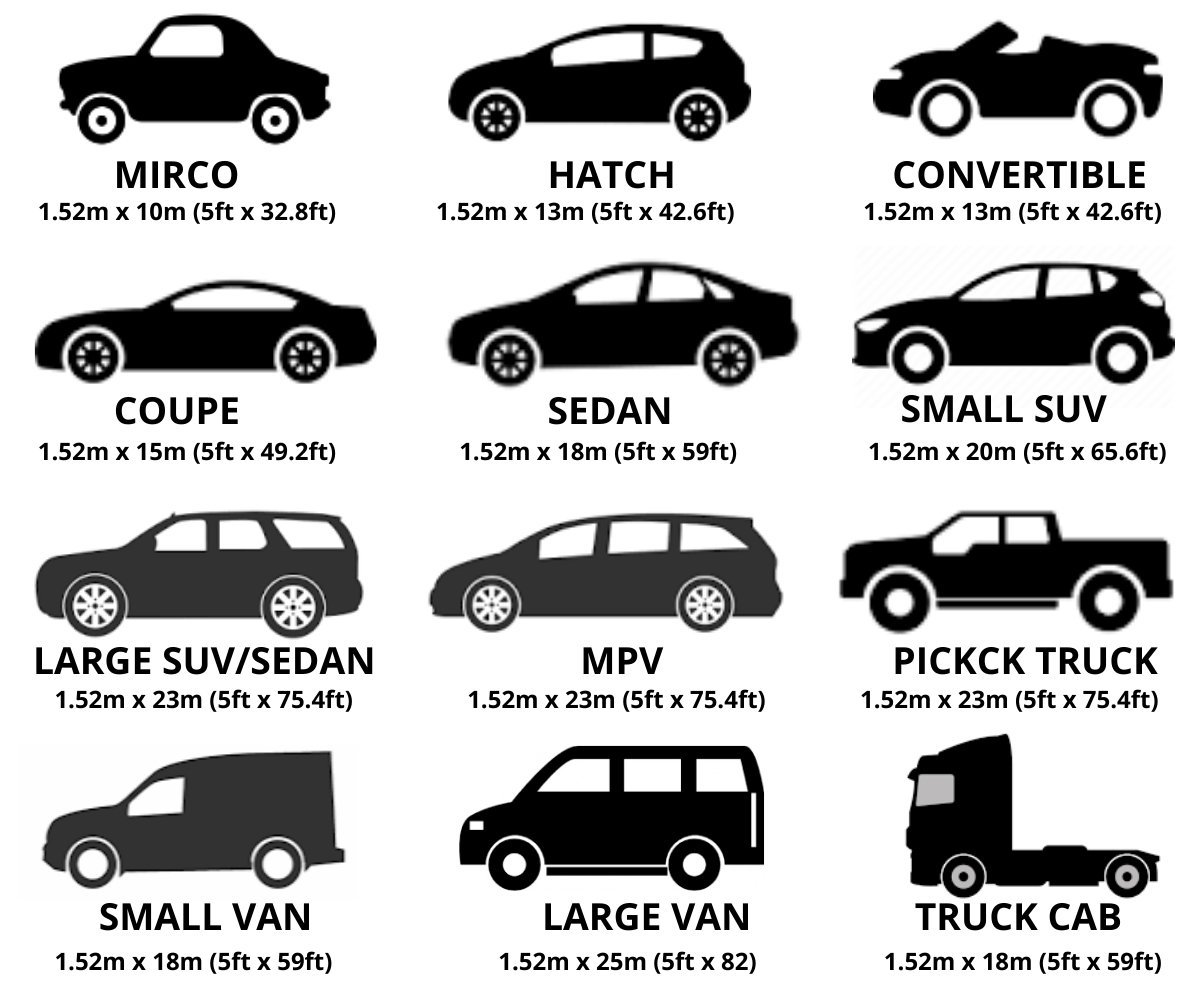
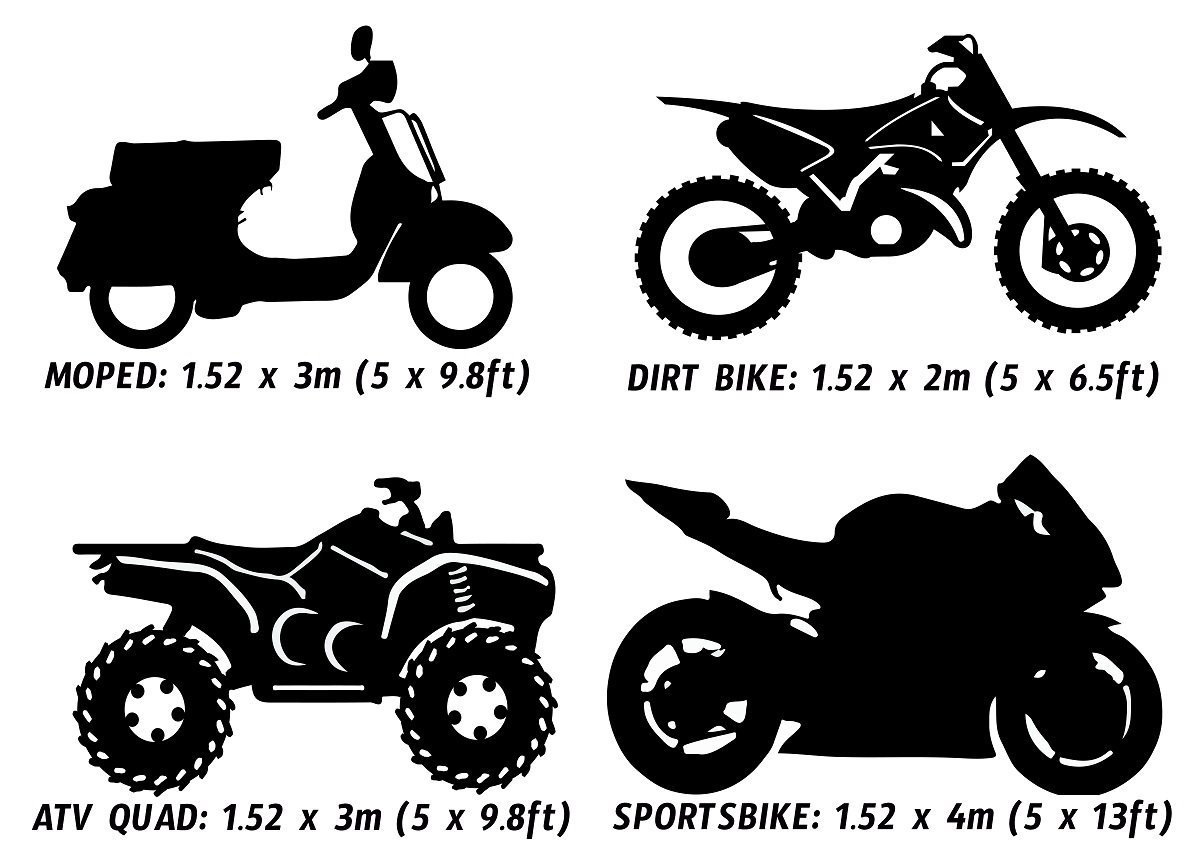
– Measure and cut the vinyl to the appropriate size for each panel of the vehicle.
– Peel off the backing paper gradually while applying the vinyl to avoid wrinkles and bubbles.
5. Handling Curves and Contours
– Use a heat gun to soften the vinyl around curves and contours.
– Stretch and apply the vinyl carefully to ensure a snug fit without overstretching.
6. Dealing with Air Bubbles
– Use a squeegee to push out air bubbles from the center to the edges.
– Apply heat and pressure to smooth out any remaining bubbles for a seamless finish.
7. Seamlessly Matching Patterns
– Align the vinyl carefully to match patterns and ensure a consistent look across panels.
– Use precision cutting to blend seams and edges for a flawless appearance.
8. Temperature and Weather Considerations
– Install the vinyl in a temperature-controlled environment to avoid issues with adhesion and stretching.
– Avoid installing in extreme cold or hot conditions as it can affect the vinyl’s performance.
9. Post-Installation Care and Maintenance
– Allow the vinyl to cure for at least 24-48 hours before exposing it to water or extreme conditions.
– Regularly clean and maintain the vinyl with gentle soap and water to preserve its appearance and longevity.
10. Troubleshooting Common Issues
– Address any lifting corners or edges immediately by applying heat and pressure.
– Repair small tears or scratches with matching vinyl patches or contact a professional for complex repairs.
Following these steps carefully will help you achieve a successful vinyl wrap installation, transforming your vehicle with a stunning new look. Remember, practice makes perfect, so don’t be discouraged if you encounter challenges along the way. With patience and attention to detail, you’ll master the art of vinyl wrapping in no time!
