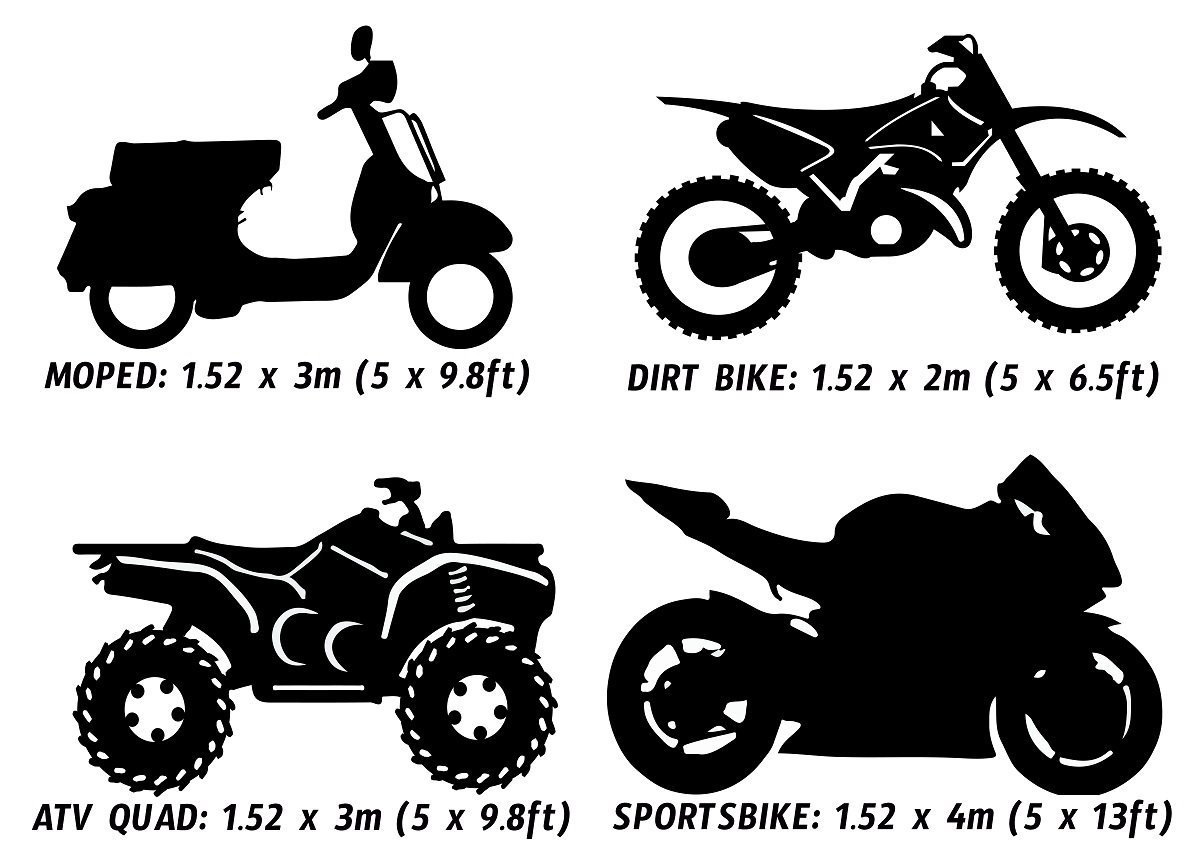
Gathering Supplies and Tools
Here is a list of essential tools and materials needed for a successful vinyl car wrap installation:
Tools:
1. Squeegee: Used for smoothing out the vinyl and removing air bubbles.
2. Heat Gun or Heat Gun Torch: Helps to soften the vinyl for conforming to curves and contours.
3. Knife or Cutting Tool: Used for trimming excess vinyl and making precise cuts.
4. Wrap Gloves: Provide grip and protection while working with the vinyl.
5. Measuring Tape: Essential for accurate measurements and cutting.
6. Masking Tape: Used for temporarily securing the vinyl in place during the installation process.
7. Isopropyl Alcohol or Cleaning Solution: Used for cleaning and preparing the vehicle surface.
8. Microfiber Cloth or Towel: For wiping down and cleaning the surface before applying the vinyl.
9. Tack Cloth: Removes any remaining dust or debris from the surface.
10. Felt Tip Squeegee or Buffer: Used to prevent scratches on the vinyl during installation.
11. Knifeless Tape: Optional but useful for making precise cuts without using a knife.
Materials:
1. Vinyl Wrap Film: The main material used for covering the vehicle.
2. Adhesive Promoter (Primer): Helps to ensure a strong bond between the vinyl and the vehicle’s surface.
3. Application Fluid (Soapy Water Mixture): Used to aid in positioning and applying the vinyl.
4. Vinyl Wrap Sealant or Finisher: Optional, but provides additional protection and a polished look.
5. Vinyl Wrap Remover (for post-installation adjustments): Helps with repositioning the vinyl if needed.
6. Vinyl Wrap Adhesive Remover (for potential removal or re-application): Optional, for removing residue.
Ensure that all these tools and materials are of high quality and suited for vinyl car wrapping. Taking care to have the right tools and materials will greatly contribute to the success of the installation process.
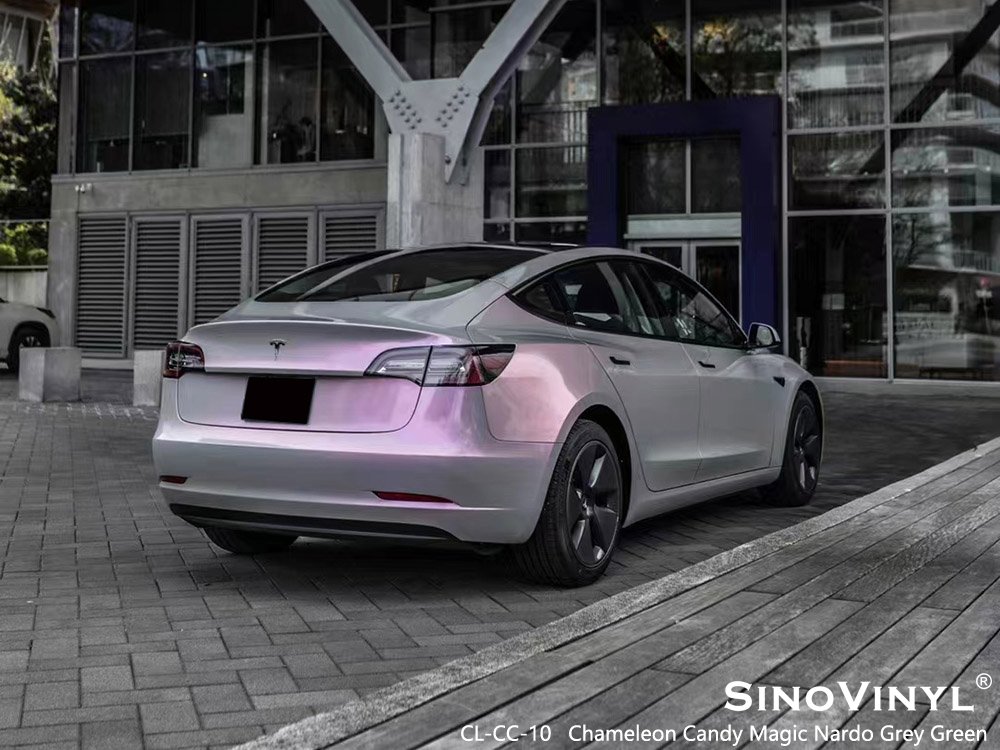

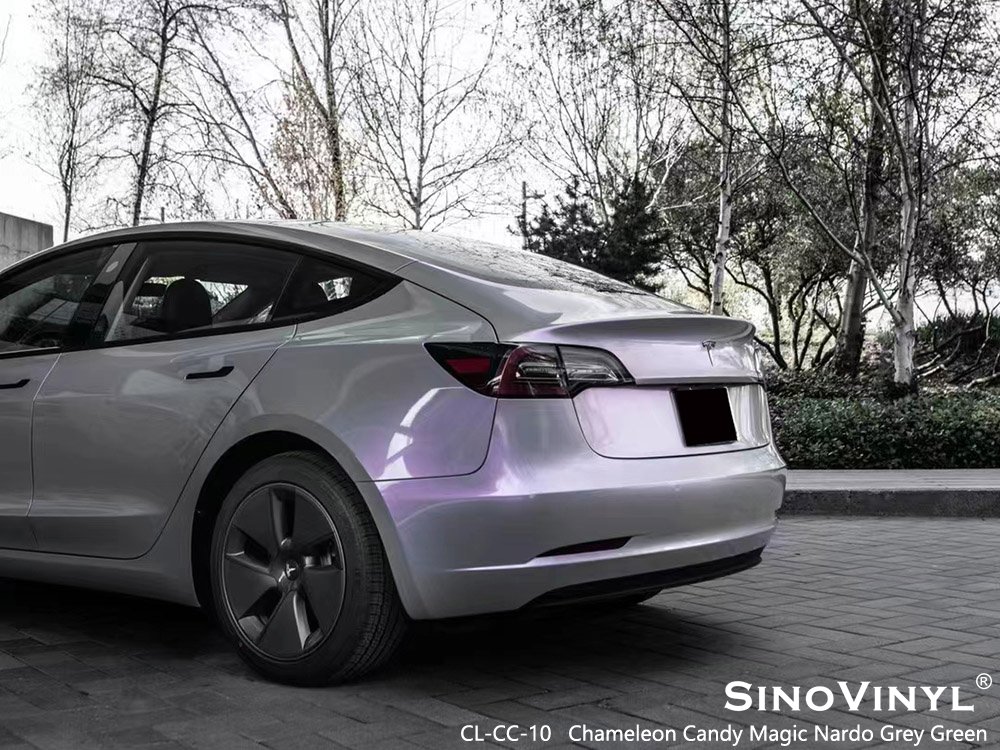
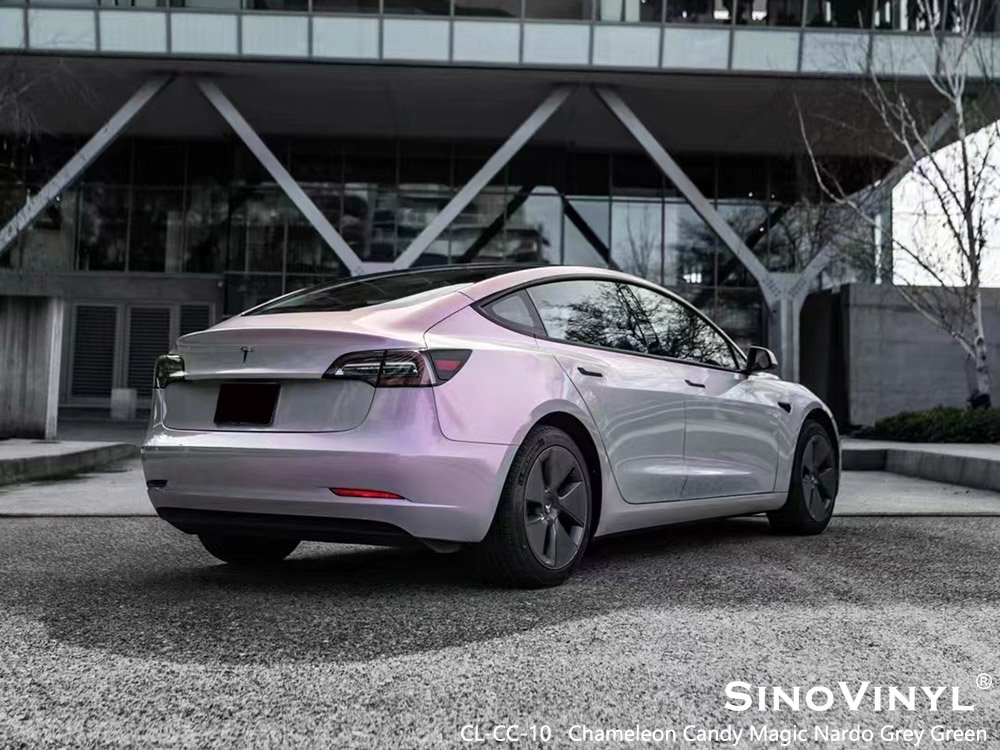
Troubleshooting Common Issues
Here are some tips for addressing common problems that may arise during vinyl car wrap installation:
1. Adhesive Residue:
– Solution: Use a mild adhesive remover or isopropyl alcohol to gently rub away any residue. Ensure that the surface is clean and dry before applying the new vinyl.
2. Uneven Edges:
– Solution: If the edges are uneven, carefully trim them using a sharp knife or razor blade. Ensure the cut is smooth and follows the contours of the vehicle.
3. Color Discrepancies:
– Solution: Verify that the vinyl batch numbers match to ensure consistent color. If there is a noticeable color difference, contact the supplier or manufacturer for a replacement.
4. Air Bubbles:
– Solution: Use a squeegee to push out air bubbles towards the edges of the vinyl. If they persist, use a heat gun to warm the vinyl slightly and then reapply pressure with the squeegee.
5. Wrinkles:
– Solution: Gently lift the affected area and reposition it, ensuring it adheres smoothly. If needed, use a heat gun to help the vinyl conform to the surface.
6. Lifting or Peeling Edges:
– Solution: Apply heat to the lifted area with a heat gun and press it down firmly. If necessary, use a primer or additional adhesive to reinforce the bond.
7. Stretch Marks:
– Solution: Avoid overstretching the vinyl during installation. If stretch marks occur, use a heat gun to warm the vinyl and then gently reposition it to remove the marks.
8. Fingerprints or Smudges:
– Solution: Clean the affected area with isopropyl alcohol and a lint-free cloth. Ensure that both the surface and your hands are clean before handling the vinyl.
9. Rip or Tear:
– Solution: If the damage is minor, use a vinyl repair kit to mend the tear. For more significant damage, you may need to replace the affected section.
10. Improper Alignment:
– Solution: Carefully lift the vinyl and reposition it as needed. Use a squeegee to smooth it back into place, ensuring proper alignment with the contours of the vehicle.
Always approach these issues with caution and patience, as rushing can lead to further complications. Additionally, having spare vinyl on hand can be incredibly helpful for addressing any unexpected problems during installation.

